Getting Started with Vuetify
Getting Started with Vuetify - KickOff for Beginners
Getting started with Vuetify is relatively straightforward, and it involves setting up a Vue.js project with Vuetify as your UI framework.

Here are step-by-step instructions on how to get started:
✅ Install Dependencies
Install Node.js and Vue CLI (if not already installed)**
If you don't have Node.js installed, download and install it from the official website: https://nodejs.org/
Once Node.js is installed, you can use npm (Node Package Manager) to install Vue CLI globally by running this command in your terminal:
npm install -g @vue/cli
✅ Create The Project
Create a New Vue.js Project
Now that you have Vue CLI installed, you can create a new Vue.js project with the Vue CLI's command-line interface. Replace "my-vuetify-app" with your desired project name.
vue create my-vuetify-app
During the project setup, you'll be prompted to pick a preset. You can either choose the default preset or manually select features.
Ensure you have the Babel, ESLint, and Vue Router features enabled since Vuetify works well with them.
✅ Install Vuetify
Navigate to your project directory:
cd my-vuetify-app
Install Vuetify using npm or yarn:
npm install vuetify
# or
yarn add vuetify
✅ Configure Vuetify
After installing Vuetify, you need to configure it. Open the src/main.js file and add the following lines to import and use Vuetify:
import Vue from 'vue'
import App from './App.vue'
import vuetify from './plugins/vuetify' // Import Vuetify from your plugins folder

Vue.config.productionTip = false

new Vue({
  render: h => h(App),
  vuetify // Add Vuetify as a plugin to your Vue instance
}).$mount('#app')
✅ Create Components
Now, you can create a simple Vuetify component. Open the src/App.vue file and replace its contents with the following example:
<template>
  <v-app>
    <v-main>
      <v-container>
        <v-btn color="primary">Click me</v-btn>
      </v-container>
    </v-main>
  </v-app>
</template>

<script>
export default {
  name: 'App'
}
</script>
This example uses Vuetify's v-btn component to create a button with a primary color.
✅ Run The Application
You're ready to run your Vue.js application with Vuetify. In your project directory, run:
npm run serve
# or
yarn serve
This command will start the development server, and you can access your application at http://localhost:8080 (or another port if 8080 is in use). You'll see your Vuetify button in action.
✅ In Summary
To create more complex and feature-rich applications with Vuetify, explore the official documentation, which provides detailed information about Vuetify components, layouts, theming, and customization: https://vuetifyjs.com/en/
You can also check out the documentation's "Getting Started" section for additional guidance: https://vuetifyjs.com/en/getting-started/quick-start
With these steps, you have successfully set up a basic Vue.js project with Vuetify. You can now start building modern, responsive web applications using Vuetify's extensive component library and Material Design guidelines.
✅ Vuetify Templates
👉 Modernize Free Vuetify
This free Vuejs admin template is developer-friendly, highly customizable, and very easy to use. It allows you to create web apps in no time without any hassle.
- Modernize Free Vuetify - product page (contains download link)
- More Admin Templates provided by AdminMart (all free)
Developing a web app from scratch is a nightmare of every developer while getting a free Vuejs template like this is every developer’s dream.
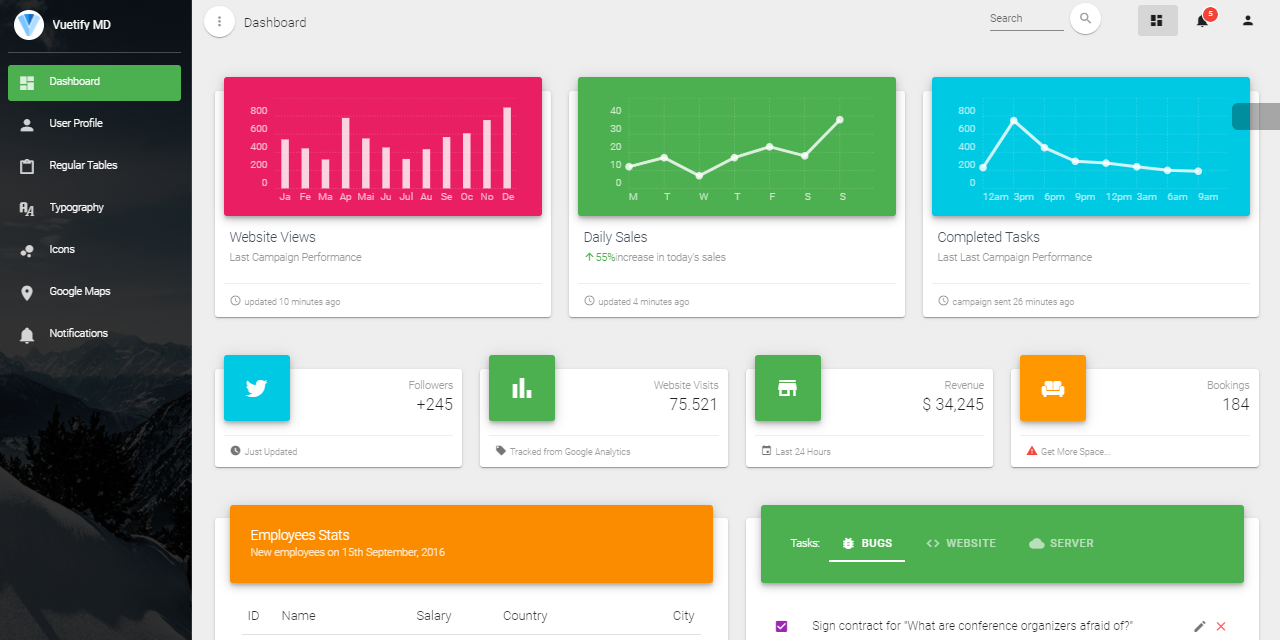
👉 Vue Dashboard - Vuetify Material
Vuetify Vue Dashboard is developed exactly according to Material Design spec. Every component is handcrafted to bring you the best possible UI tools to your next great app. The development doesn't stop at the core components outlined in Google's spec. Through the support of community members and sponsors, additional components will be designed and made available for everyone to enjoy.
- Vue Dashboard Vuetify Material -
product page - Vue Dashboard Vuetify Material -
LIVE demo
✅ Resources
- 👉 Access AppSeed for more starters and support
- 👉 Deploy Projects on Aws, Azure and DO via DeployPRO
- 👉 Create landing pages with Simpllo, an open-source site builder
- 👉 Build apps with Django App Generator (free service)