Deploy Next.js on Netlify
Learn how to prepare and deploy a Next.js application on Netlify.
In the last document, we learned how to create a simple Next.js application. In this document, you will learn how to deploy a Next.js application on Netlify.

✅ Configuring the Project
Before deploying the application, we must ensure that the Next.js application is ready for production. Let's start with optimizing the images for production. First, install the following packages:
yarn install next-compose-plugins next-optimized-images
The next-compose-plugins provides a simple API and modules to make Next.js plugin configurations easier. The next-optimized-images package will automatically optimize images used in this project.
In the next.config.js file, make sure to have the following configurations.
const withPlugins = require("next-compose-plugins");
const optimizedImages = require("next-optimized-images");

const nextConfiguration = {
    target: "serverless",
    images: {
        disableStaticImages: true,
        optimizeImages: true,
    },
};

module.exports = withPlugins([optimizedImages], nextConfiguration);
After the configuration of the Next.js plugins, let's write the netlify.toml configuration file.
# netlify.toml
[build]
  command = "yarn build"
  publish = ".next"
In the code above, we specify the required commands and configuration for Netlify to build the project and where to publish the built project. To ensure the build will pass on Netlify, you can run the build command.
yarn build
if there is no error, the project is ready for deployment on Netlify.
✅ Deploying on Netlify
We assume here that you have a Netlify account and that the project source code is hosted on a service like Github, Gitlab, etc.
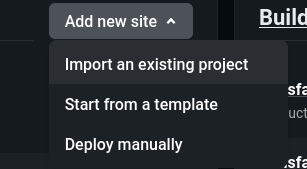
First, add a new site. If your project is already available on an online code hosting service, choose the import an existing project.
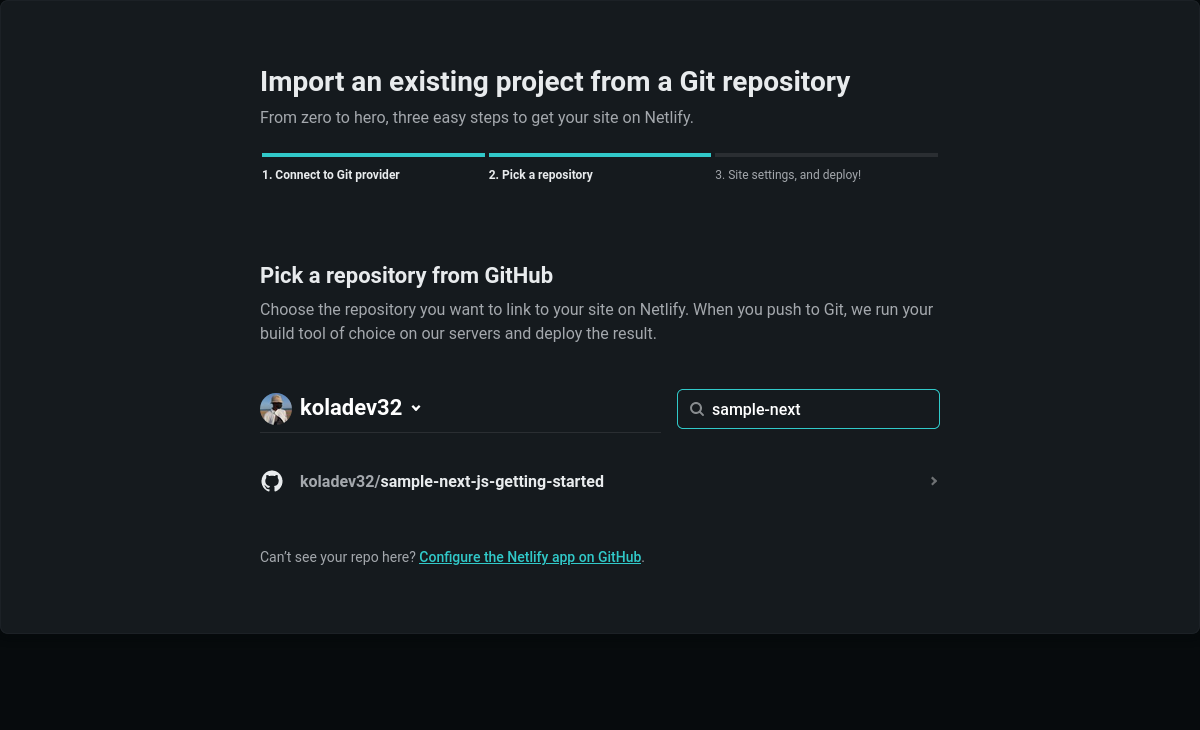
 After that, select the Next.js project.
 You will be redirected to the last configuration for the project such as the command and the output directory. No need to modify something here as we have already done it in the
 netlify.toml file. Validate and wait for the deployment. You can find an online version of this project here.
✅ In Summary
In this documentation, we quickly learned how to deploy a Next.js application on Netlify. In the next document, we will discuss best practices to follow when working with Next.js.
✅ Resources
- 👉 Access AppSeed for more starters and support
- 👉 Deploy Projects on Aws, Azure and DO via DeployPRO
- 👉 Create landing pages with Simpllo, an open-source site builder
- 👉 Build apps with Django App Generator (free service)