Flask Soft Dashboard PRO
Premium seed project built in Flask on top of Soft UI Dashboard (PRO version).
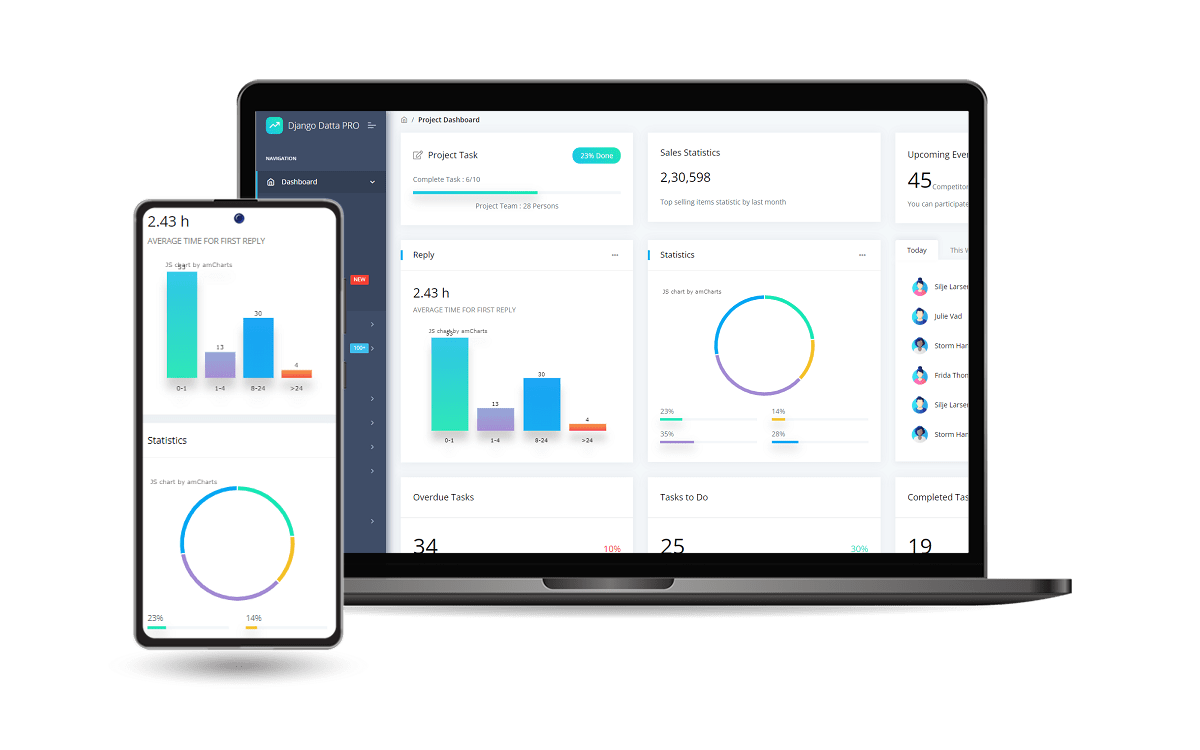
Premium Flask Dashboard project crafted on top of Soft UI Dashboard PRO, a pixel-perfect Bootstrap 5 design from Creative-Tim.
Designed for those who like bold elements and beautiful websites, Soft UI Dashboard is ready to help you create stunning websites and webapps.
- 👉 Soft Dashboard PRO Flask - Product Page
- 👉 Soft Dashboard PRO Flask - LIVE Demo
2023-10-08✅ Features
Up-to-date dependencies- UI Kit: Soft UI Dashboard PRO by
Creative-Tim Database:SQLite, MySql- Silent fallback to
SQLite
- Silent fallback to
DB Tools: SQLAlchemy ORM,Flask-MigrateAuthentication, Session Based,OAuthvia Github- Docker,
Flask-Minify(page compression) DeploymentCI/CDflow viaRender
✅ Environment
To use the starter, Python3 should be installed properly in the workstation.
If you are not sure if Python is installed, please open a terminal and type python --version. Here is the full list with dependencies and tools required to build the app:
- Python3 - the programming language used to code the app
- GIT - used to clone the source code from the Github repository
- Basic development tools (g++ compiler, python development libraries ..etc) used by Python to compile the app dependencies in your environment.
- (Optional)
Docker- a popular virtualization software
✅ Start in Docker
👉 Step 1 - Download & Unzip the code (
requires a purchase)
$ unzip flask-soft-ui-dashboard-pro.zip
$ cd flask-soft-ui-dashboard-pro
👉 Step 2 - Start the APP in
Docker
$ docker-compose up --build
Visit http://localhost:5085 in your browser. The app should be up & running.
✅ Manual Build
👉 Step 1 - Download & Unzip the code (
requires a purchase)
$ unzip flask-soft-ui-dashboard-pro.zip
$ cd flask-soft-ui-dashboard-pro
👉 Set Up for Unix, MacOS
Install modules via
VENV
$ virtualenv env
$ source env/bin/activate
$ pip3 install -r requirements.txt
Set Up Flask Environment
$ export FLASK_APP=run.py
$ export FLASK_ENV=development
Start the app
$ flask run
At this point, the app runs at http://127.0.0.1:5000/.
👉 Set Up for Windows
Install modules via
VENV(windows)
$ virtualenv env
$ .\env\Scripts\activate
$ pip3 install -r requirements.txt
Set Up Flask Environment
$ # CMD
$ set FLASK_APP=run.py
$ set FLASK_ENV=development
$
$ # Powershell
$ $env:FLASK_APP = ".\run.py"
$ $env:FLASK_ENV = "development"
Start the app
$ flask run
At this point, the app runs at http://127.0.0.1:5000/.
✅ Codebase
The project is coded using a simple and intuitive structure presented below:
< PROJECT ROOT >
   |
   |-- apps/
   |    |
   |    |-- home/                           # A simple app that serve HTML files
   |    |    |-- routes.py                  # Define app routes
   |    |
   |    |-- authentication/                 # Handles auth routes (login and register)
   |    |    |-- routes.py                  # Define authentication routes
   |    |    |-- models.py                  # Defines models
   |    |    |-- forms.py                   # Define auth forms (login and register)
   |    |
   |    |-- static/
   |    |    |-- <css, JS, images>          # CSS files, Javascripts files
   |    |
   |    |-- templates/                      # Templates used to render pages
   |    |    |-- includes/                  # HTML chunks and components
   |    |    |    |-- navigation.html       # Top menu component
   |    |    |    |-- sidebar.html          # Sidebar component
   |    |    |    |-- footer.html           # App Footer
   |    |    |    |-- scripts.html          # Scripts common to all pages
   |    |    |
   |    |    |-- layouts/                   # Master pages
   |    |    |    |-- base-fullscreen.html  # Used by Authentication pages
   |    |    |    |-- base.html             # Used by common pages
   |    |    |
   |    |    |-- accounts/                  # Authentication pages
   |    |    |    |-- login.html            # Login page
   |    |    |    |-- register.html         # Register page
   |    |    |
   |    |    |-- home/                      # UI Kit Pages
   |    |         |-- index.html            # Index page
   |    |         |-- 404-page.html         # 404 page
   |    |         |-- *.html                # All other pages
   |    |
   |  config.py                             # Set up the app
   |    __init__.py                         # Initialize the app
   |
   |-- requirements.txt                     # App Dependencies
   |
   |-- .env                                 # Inject Configuration via Environment
   |-- run.py                               # Start the app - WSGI gateway
   |
   |-- ************************************************************************
✅ Deploy on Render
- Create a Blueprint instance
- Go to https://dashboard.render.com/blueprints this link.
- Click
New Blueprint Instancebutton. - Connect your
repowhich you want to deploy. - Fill the
Service Group Nameand click onUpdate Existing Resourcesbutton. - After that your deployment will start automatically.
At this point, the product should be LIVE.
✅ Resources
- 👉 Access AppSeed for more starters and support
- 👉 Get in touch for Custom Development Services